One wrong line in a robots.txt file can block Google from crawling your entire website. You might spend months building content, optimizing pages, and earning backlinks — only to discover that a single misconfigured directive silently removed your site from search results. That is why using a robots.txt generator free online is the smartest, safest approach for webmasters, SEO professionals, and developers alike.
This guide walks you through everything: what robots.txt validator is, how to generate yours in under a minute, the exact directives you need to know, CMS-specific templates, and the costly mistakes to avoid. By the end, your robots.txt file will be clean, correctly formatted, and ready to upload.
What Is a Robots.txt File? (And Why Does It Matter for SEO)
A robots.txt file is a plain text file placed in the root directory of your website that communicates directly with search engine crawlers — also called web robots or bots — telling them which pages or sections of your site they are permitted to crawl and which they should leave alone.
Search engines like Google, Bing, Yahoo, and Baidu all use automated programs called spiders or crawlers to discover and index web content. Before any of these bots scan a single page on your site, the very first file they look for is robots.txt. It is their instruction manual, and following the Robots Exclusion Protocol (REP) — the standard that governs how this file works — is how well-behaved crawlers behave.
How Search Engine Crawlers Use Robots.txt
When Googlebot or another crawler arrives at your domain, it automatically requests https://yourdomain.com/robots.txt. If the file exists, the bot reads it before crawling anything else. Based on your directives, it will either proceed to crawl your content or skip restricted areas.
The file uses a simple syntax. Each block of instructions begins with a User-agent line identifying which bot the rules apply to, followed by Allow or Disallow directives that specify which URLs are accessible. A wildcard (*) in the User-agent field applies the rules to all crawlers at once.
Here is what a basic robots.txt file looks like:
- User-agent: *
- Disallow: /wp-admin/
- Disallow: /private/
- Allow: /
Sitemap: https://yourdomain.com/sitemap.xml
Robots.txt vs. Noindex: What Is the Difference?
Many website owners confuse robots.txt with the noindex meta tag, but they serve very different purposes.
- Robots.txt controls crawling. It tells bots whether they can visit a page at all. However, blocking a page in robots.txt does not guarantee it stays out of the search index — if other sites link to that page, Google may still index it without ever crawling its content.
- Noindex controls indexing. The <meta name=”robots” content=”noindex”> tag tells crawlers they can visit the page but must not add it to the search index.
For pages you want completely hidden from search results, use noindex. Use robots.txt primarily to save crawl budget and guide bots toward your most important content.
Why Robots.txt Matters for Your Crawl Budget
Google allocates a crawl budget to every website — a rough limit on how many pages Googlebot will crawl during a given period. For large sites with thousands of pages, this budget matters enormously. If Googlebot wastes time crawling admin pages, duplicate content URLs, internal search results, and staging directories, it may never get to your newest blog posts or product pages.
A well-configured robots.txt file directs crawlers away from low-value pages and toward the content that drives real SEO results. This is one reason technical SEO experts treat robots.txt as a foundational element of site optimization, not an afterthought.
How to Use This Free Robots.txt Generator Online
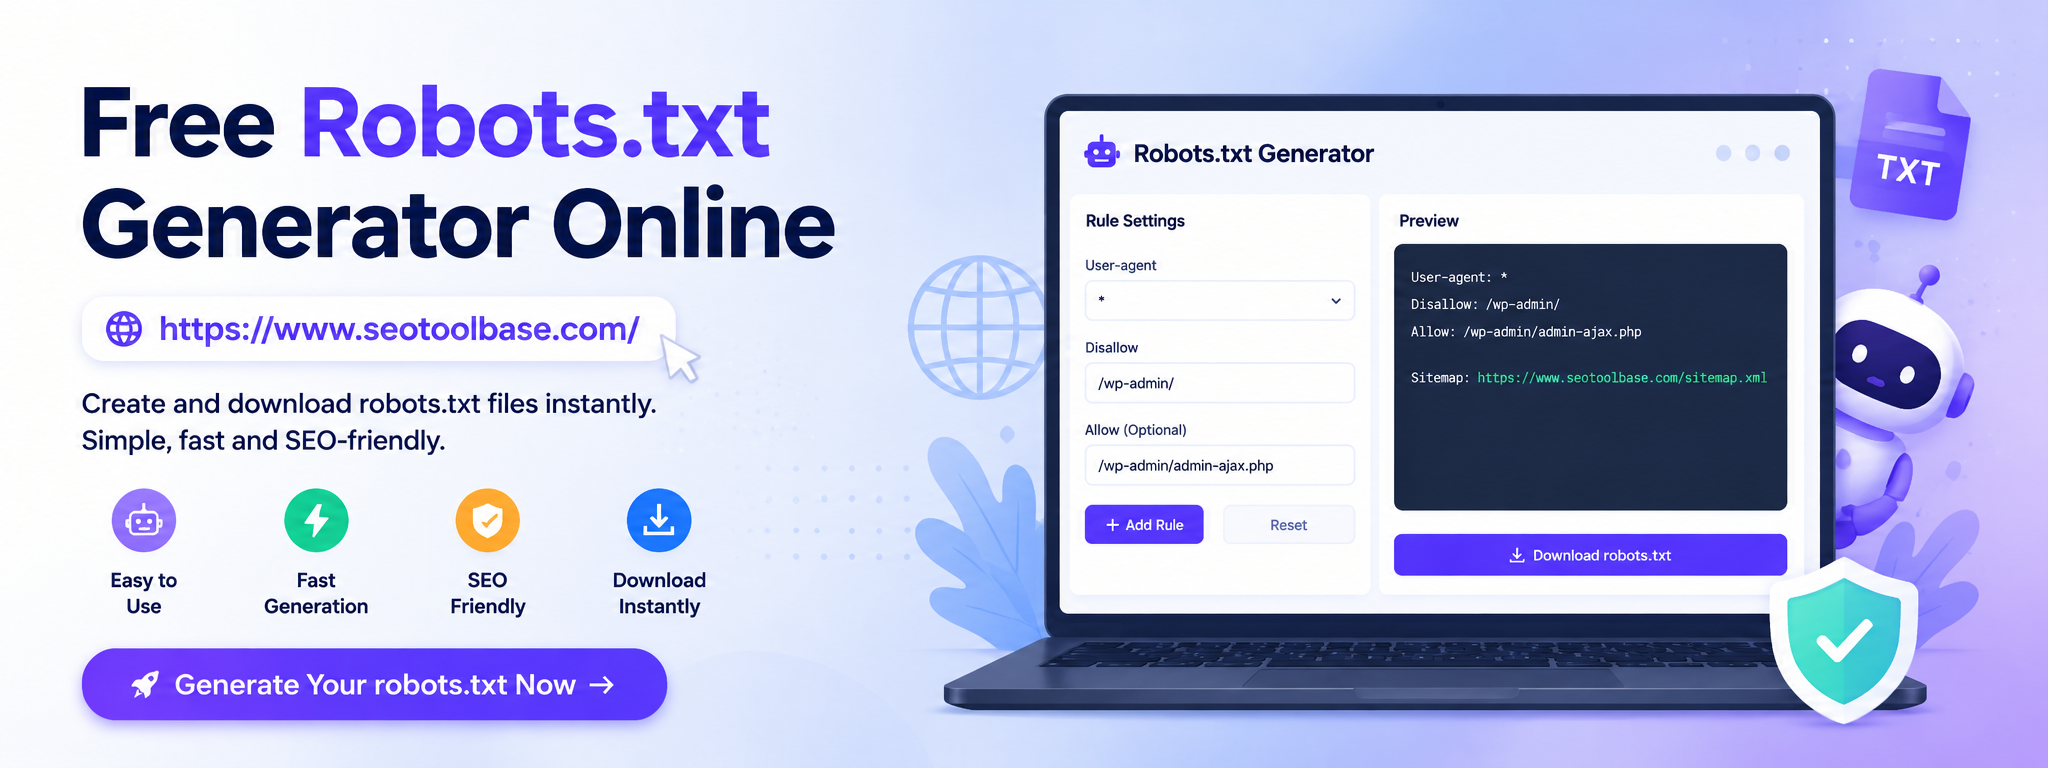
You do not need to write a single line of code to create a perfectly formatted robots.txt file. A free online robots.txt generator handles the syntax automatically, eliminating the risk of human error that comes with manual file creation. Here is the step-by-step process:
Step 1. Set Your Default Crawler Access
The first decision is whether to allow all crawlers access by default or block them. For most websites, the correct starting point is Allow All — you then selectively restrict specific directories rather than opening things up one by one. Choose “Block All” only for private websites, staging environments, or sites under construction where you do not want any search engine indexing.
Step 2 — Add Your XML Sitemap URL
Your XML sitemap is the companion file to robots.txt. While robots.txt tells crawlers where not to go, your sitemap tells them every page you want indexed. Adding the sitemap URL to your robots.txt file makes it easier for bots to discover all your content.
Your sitemap is typically located at:
https://yourdomain.com/sitemap.xmlIf you use an SEO plugin like Yoast SEO or Rank Math on WordPress, these tools generate your sitemap automatically and update it whenever you publish new content.
Step 3 — Configure Individual Search Engine Bots
Most generators let you set custom rules for specific search robot agents, including:
- Googlebot — Google’s primary crawler
- Google Image — crawls images for Google Image Search
- Bingbot — Microsoft’s search crawler
- Baiduspider — Baidu’s crawler for Chinese search
- Yandex — Russia’s primary search engine bot
You can allow full access, block entirely, or leave each at the default (inheriting your global setting). For most websites, allowing Google and Bing while applying restrictions on less relevant bots is a sensible configuration.
Step 4 — Set Restricted Directories
This is the most impactful step. Enter the directory paths you want crawlers to skip. Always use a forward slash before the path, and always end directory paths with a trailing slash.
Common directories to disallow include:
- Disallow: /wp-admin/
- Disallow: /wp-includes/
- Disallow: /search/
- Disallow: /checkout/
- Disallow: /cart/
- Disallow: /account/
- Disallow: /thank-you/
Step 5 — Copy or Download Your Generated File
Once you configure your settings, the tool instantly produces a properly formatted robots.txt file. Copy the output directly to your clipboard or download it as a .txt file. Then upload it to the root directory of your web server — not a subfolder — so it is accessible at https://yourdomain.com/robots.txt.
Key Robots.txt Directives Explained
Understanding the core robots.txt syntax gives you full control over how crawlers interact with your site. There are four primary directives every webmaster should know.
User-agent — Targeting Specific Bots
The User-agent directive specifies which crawler the following rules apply to. Use * to target all bots, or name a specific crawler to create tailored rules:
User-agent: * # applies to all crawlers
User-agent: Googlebot # applies only to Google’s main crawler
User-agent: Bingbot # applies only to Microsoft’s crawler
Each User-agent block is separate. You can stack multiple blocks in one file to create different rules for different bots.
Allow and Disallow — Granting and Revoking Access
Disallow tells a crawler not to access a specific URL or directory. Allow explicitly opens a URL even if a parent directory is disallowed:
User-agent: *
Disallow: /members/
Allow: /members/public-profile/
This configuration blocks the entire /members/ section but keeps /members/public-profile/ open for crawling — useful when a section is mostly private but contains some publicly indexable content.Important: robots.txt is case-sensitive. /Admin/ and /admin/ are treated as two different paths. This is one of the most common errors that causes directives to silently fail.
Crawl-delay – Protecting Your Server
The Crawl-delay directive tells crawlers how many seconds to wait between requests. This prevents aggressive bots from overwhelming your server with too many simultaneous requests — especially important on shared hosting plans:
User-agent: *
Crawl-delay: 10 Note that Googlebot ignores this directive — it manages its crawl rate automatically based on your server’s response times. However, Bing, Yandex, and other crawlers do respect it.
Sitemap — Pointing Bots to Your Content Map
Including a Sitemap directive is best practice and is supported by all major search engines:
Sitemap: https://yourdomain.com/sitemap.xml
You can include multiple sitemap entries if your site uses a sitemap index file or separate sitemaps for images, videos, or news content.
Common Robots.txt Mistakes That Kill Your SEO
Even experienced developers make robots.txt errors. These are the most dangerous — and most common — mistakes to avoid.
Accidentally Blocking CSS and JavaScript Files
If your robots.txt file disallows crawlers from accessing your CSS stylesheets and JavaScript files, Googlebot cannot properly render your pages. Google’s crawler needs to see the same resources a browser sees in order to evaluate your page’s mobile-friendliness, structured data, and overall quality.
The symptom: your pages pass a visual review but fail Google’s mobile-friendly test or show rendering errors in Google Search Console.The fix: never disallow /wp-content/, /assets/, /css/, or /js/ directories unless you have a very specific reason to do so.
Accidentally Disallowing Your Entire Site
This is the single most catastrophic robots.txt error:
User-agent: *
Disallow: /
This one line tells every crawler on the planet to stay away from every page on your site. It is the correct setting for staging environments — and a nightmare if it accidentally ends up on your live domain. Always double-check your live site’s robots.txt after any deployment.
Placing Robots.txt in the Wrong Directory
Search engines only look for robots.txt in one specific location: the root of your domain. The file must be accessible at https://yourdomain.com/robots.txt. Placing it in a subfolder (/public/robots.txt, /static/robots.txt) means crawlers will never find it, and your directives will be completely ignored.
Using Robots.txt as a Security Measure
Robots.txt is a public file — anyone can read it by visiting https://yourdomain.com/robots.txt. Ironically, listing your private admin URLs in robots.txt can actually advertise their existence to malicious users. Well-behaved crawlers follow your directives, but malware bots, email scrapers, and vulnerability scanners do not follow the Robots Exclusion Protocol at all.
For true access control, use password protection, server-level authentication (such as .htaccess rules), or IP allowlists. Never rely on robots.txt for security.
Read More:- Htaccess File Generator
Leaving the Disallow Directive Empty
An empty Disallow directive means “allow everything” — not “block everything.” Many beginners write:
User-agent: *
Disallow:Thinking this blocks all crawlers. In fact, it does the opposite and opens your site completely. If you intend to block all access, you must write Disallow: /.
Robots.txt Best Practices for WordPress, Shopify & Other CMS
Different content management systems require different robots.txt configurations. Here are ready-to-use templates for the most popular platforms.
WordPress Robots.txt — The Recommended Configuration
WordPress automatically creates many URLs that should not be indexed: admin pages, login screens, plugin directories, and internal search result pages. Here is a solid starting configuration:
- User-agent: *
- Disallow: /wp-admin/
- Disallow: /wp-includes/
- Disallow: /wp-content/plugins/
- Disallow: /?s=
- Disallow: /search/
- Disallow: /tag/
- Allow: /wp-admin/admin-ajax.php
Sitemap: https://yourdomain.com/sitemap_index.xmlThe Allow: /wp-admin/admin-ajax.php line is essential — many WordPress themes and plugins use this endpoint for front-end functionality, and blocking it can break dynamic features.
Shopify Robots.txt — Understanding Platform Limitations
Shopify automatically generates a robots.txt file for every store and does not allow direct editing of the file in most plan tiers. However, from the Shopify admin, you can customize it using the robots.txt.liquid template in your theme.
Shopify’s default configuration already blocks common low-value paths like:
- Disallow: /a/downloads/-/*
- Disallow: /admin
- Disallow: /cart
- Disallow: /orders
- Disallow: /checkouts/
If you need to disallow additional paths (such as duplicate collection pages created by filtering), use the liquid template approach and consult Shopify’s developer documentation.
Wix and Squarespace — Platform Restrictions
Both Wix and Squarespace manage robots.txt at the platform level with limited user control:
- Wix provides a built-in robots.txt editor under Settings → SEO → Robots.txt. You can add custom rules, but certain platform-level directives cannot be overridden.
- Squarespace does not allow direct editing of robots.txt. The platform manages it automatically, though you can control indexing at the page level through page settings.
How to Test Your Robots.txt File After Generating It
Creating the file is only half the job. Always validate it before considering your configuration complete.
Using Google Search Console’s Robots.txt Tester
Google Search Console includes a built-in robots.txt tester that lets you:
- Paste your robots.txt content directly into the tool
- Enter any URL on your site
- See instantly whether Googlebot (or any other crawler) can access that URL under your current rules
To access it: open Google Search Console → Settings → robots.txt (under Crawling). This is the most reliable way to confirm your directives are working as intended before going live.
Manual Verification
After uploading the file to your server, visit https://yourdomain.com/robots.txt directly in a browser. You should see the plain text content of your file. If you get a 404 error, the file is either missing or placed in the wrong directory.
Submitting Changes to Google
You do not need to submit your robots.txt file to Google manually — crawlers check it automatically on every visit. However, if you have made significant changes and want Google to reprocess them quickly, you can use the URL Inspection tool in Google Search Console and request indexing for key pages affected by the update.
Robots.txt and AI Crawlers: Blocking GPTBot, ClaudeBot, and Others
User-agent: GPTBot
Disallow: /
User-agent: ChatGPT-User
Disallow: /
User-agent: ClaudeBot
Disallow: /
User-agent: anthropic-ai
Disallow: /
User-agent: CCBot
Disallow: /
User-agent: Google-Extended
Disallow: /
Conclusion
Your robots.txt validator is small — often just a few lines — but its impact on how search engines interact with your site is enormous. A correctly configured file saves your crawl budget for the pages that matter, prevents duplicate content from diluting your rankings, blocks sensitive directories from appearing in search results, and helps Google discover your best content faster.
Use a robots.txt generator free online to build your file without syntax errors, test it in Google Search Console before going live, and revisit it whenever you add new sections or restructure your site.
The 60-second investment you make today will pay dividends in cleaner crawling, stronger indexing, and better SEO performance for months and years ahead.
Frequently Asked Questions About Robots.txt
Robots.txt file is a text file that instructs search engine bots which pages or folders they can or cannot crawl.
Best practices for syntax:
- Use
User-agent:to specify which bot (use*for all bots) - Use
Disallow:to block access to a folder or page - Use
Allow:to permit access to a specific file inside a blocked folder - Use
Sitemap:to point to your XML sitemap URL - Put each rule on a new line
- Place the file in your website’s root folder (e.g.,
yourwebsite {.} com/robots.txt) - Always test your file in Google Search Console before publishing
Yes, having a robots.txt file is recommended for most websites. A robots.txt file helps search engine bots understand which pages or sections of your website they should crawl or avoid. It can improve crawl efficiency, protect private areas like admin pages, and prevent duplicate or unnecessary content from being indexed.
While small websites can still work without a robots.txt file, adding one is a best practice for SEO and website management. It becomes especially important for WordPress sites, eCommerce stores, blogs, and websites with many pages or media files.
A properly configured robots.txt file can help search engines focus on your most important content and improve overall site performance in search results.
No, robots.txt and the noindex meta tag serve different purposes in SEO. A robots.txt file controls whether search engine bots can crawl specific pages files and website folders, while a noindex meta tag tells search engines do not display a page in search results or if the page is indexed remove from SERP.
Note: If a page is blocked in robots.txt, search engines cannot crawl it, which means they may not be able to read the meta noindex tag added on that page. A noindex tag works differently because it allows search engine bots to access the page while preventing it from being indexed in search results, depending on how the tag is implemented.
SEO Expert Tip: For the best SEO results, use robots.txt to control crawler access and use the noindex meta tag when you want specific pages excluded from search engine results.
To add your sitemap to your robots.txt file, open your robots.txt file and place the sitemap URL at the bottom of the file using the following format:
Sitemap: https://yourdomain.com/sitemap.xmlReplace yourdomain.com with your actual website domain and make sure your XML sitemap URL is accessible without any error.
For example:
User-agent: *
Allow:
Disallow: /wp-admin/

Sitemap: https://example.com/sitemap.xmlA robots.txt file is a simple text file that tells search engine bots which parts of your website they can or cannot crawl.
Here’s a example of a robots.txt file, along with a line-by-line explanation of what each line does.
This is a common, well-structured example for a typical WordPress blog or website:
text
# Allow all bots to access the site, but block access to specific admin and plugin folders
User-agent: *
Allow: /
Disallow: /wp-admin/
Disallow: /wp-includes/
Disallow: /wp-content/plugins/
Disallow: /readme.html
Disallow: /refer/

# Prevent Google from crawling search result pages (to avoid duplicate content)
User-agent: Googlebot
Disallow: /*?s=*
Disallow: /search/


# Specify the location of the XML sitemap (helps search engines find all your content)
Sitemap: https://www.yourwebsite.com/sitemap.xml

Note: here User-agent: * applies to all search engine bots. If you want to target any specific bot, replace the asterisk (*) with the bot's name (e.g., User-agent: Googlebot, User-agent: Bingbot, User-agent: Slurp for Yahoo).
The Robots Exclusion Protocol (REP) is a standard used to communicate with search engine crawlers about which parts of a website they can or cannot access. It is commonly implemented through a robots.txt file placed in the root directory of a website.
Website owners use the Robots Exclusion Protocol to guide search engine bots, block unnecessary pages from crawling, and improve crawl efficiency. The protocol is supported by major search engines such as Google and Bing.
While REP helps manage crawler behavior, it does not guarantee complete privacy or prevent pages from appearing in search results if other websites link to them.
Yes, you can add multiple sitemap URLs to your robots.txt file. This is a common SEO practice for large websites. Yo can use separate sitemaps for posts, pages, images, videos, or categories pages.
To add multiple sitemaps, place each sitemap URL on a new line in your robots.txt file using the Sitemap: directive.
For example:
Sitemap: https://yourdomain.com/sitemap.xml
Sitemap: https://yourdomain.com/post-sitemap.xml
Sitemap: https://yourdomain.com/page-sitemap.xml
Search engines like Google and Bing can read multiple sitemap entries and use them to discover and crawl your content more efficiently.
If your website does not have a robots.txt file, search engines like Google will still be able to crawl and index your website normally. A robots.txt file is not mandatory, but it helps control how search engine bots access your content.
Without a robots.txt file, crawlers may spend time indexing unnecessary pages such as admin, login, payment, booking, etc. which are not created to rank on google.
Adding a page level configured robots.txt file is considered an SEO best practice because it helps search engines focus on your most important pages and help them to rank on google and improves overall website SERP results.
The robots.txt file should be placed in the root directory of your website so search engines can find it easily. It must be accessible directly from your main domain, such as:
yourdomain {.} com/robots.txt
For example, if your website is example.com, the robots.txt file should be located at:
example {.} com/robots.txt
Placing the file in any other folder or subdirectory may prevent search engines from detecting and using it correctly.