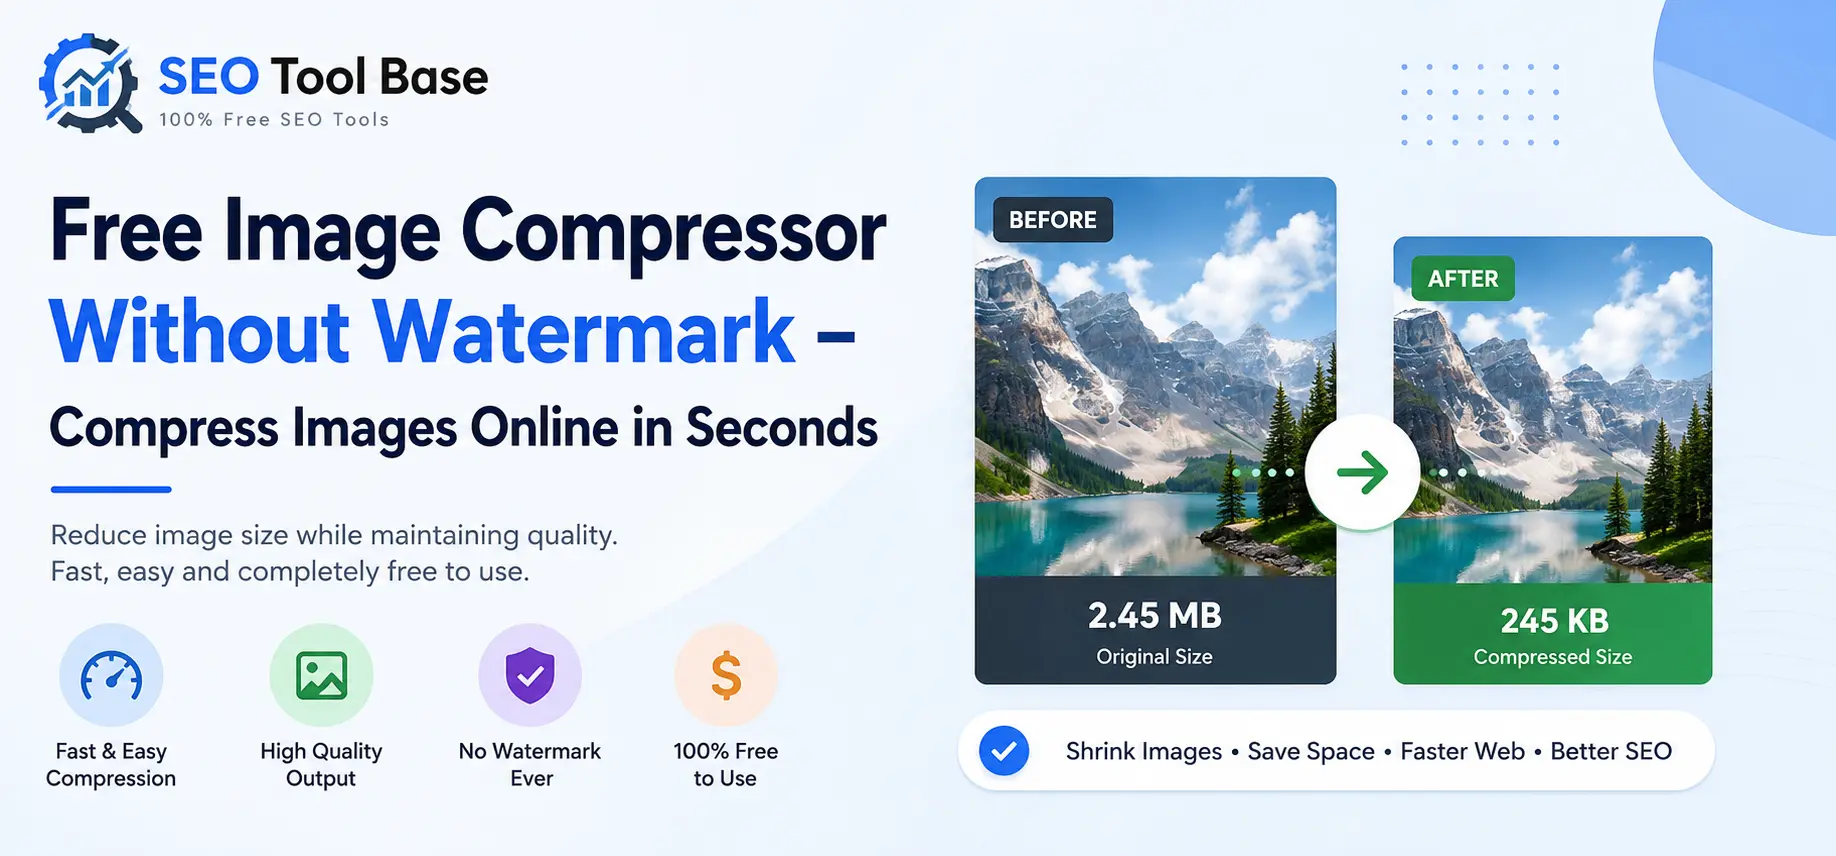
Nobody visits a website expecting to sit and wait for it to load. Yet that’s exactly what happens across thousands of sites every day, all because of one problem that keeps getting overlooked: oversized images. A single photo straight from a phone or DSLR can easily weigh 3–8 MB, and when a page loads five or six of those without any optimization, load time stretches into multiple seconds — more than enough time for a visitor to leave before your content even finishes appearing. This is exactly why using a free image compressor without watermark before uploading images matters more than most site owners realize.
The fix sounds simple: compress the images. But if you’ve tried to do this with a “free” tool before, you already know the catch. You upload a photo, and what comes back has a watermark stamped diagonally across it. Or you get two or three compressions in before a paywall pops up demanding a subscription. Or the tool insists on an email address and account signup before it lets you download anything at all.
That’s the exact gap SEOtoolbase image compressor was built to close. It’s a genuinely free image compressor without a watermark — no account, no hidden limit, no fine print. Upload an image, pick how much you want to shrink it, and download the result. That’s the entire workflow, and it stays exactly that simple no matter how many times you use it.
This guide walks through why so many “free” tools aren’t really free, how to compress images properly without a watermark, what to look for in a compression tool, and how image size quietly affects your search rankings.
Why Most “Free” Image Compressors Aren’t Actually Free
Search for “free image compressor,” and you’ll get dozens of results claiming to offer exactly that. In practice, most of them fall into one of these patterns:
- The watermark trap. You compress the image, and it comes back with a logo or diagonal text overlay that makes it unusable for anything professional.
- The usage wall. The first two or three compressions work fine. Then a message appears asking you to upgrade to continue.
- The email gate. Before you can download your file, you’re asked to create an account or hand over your email address, which usually means a future inbox full of marketing emails.
- The size restriction. Free tiers often cap file size so low that anything beyond a small thumbnail gets rejected.
None of these match what someone searching for a free image compressor without watermark free download actually wants. They want the tool to do exactly what it says — for free, in full, every time. SEOtoolbase’s compressor was built around that expectation rather than around funneling people toward a paid plan.
What Is a Free Image Compressor Without Watermark?
A free image compressor without a watermark is a tool that reduces a photo or graphic’s file size without adding any branding, logo, or overlay to the finished image – and without charging for the privilege. The compressed file looks identical to the original at a glance; it’s simply lighter, which translates directly into faster load times with no visible trade-off for the viewer.
This is a meaningfully different category from tools that advertise themselves as free but only unlock a clean, watermark-free version once you pay. With a genuine free compressor, the image you download is the finished product — nothing added, nothing missing, no upsell screen standing between you and your file.
How to Compress Images Online Without a Watermark (Step-by-Step)
Compressing an image with SEOtoolbase takes less time than it took to read this sentence twice. Here’s the complete process.
Step 1 – Upload Your Image (JPG, PNG, or WebP)
Open the image compressor tool and either drag your file directly into the upload area or click to browse your device and select it manually. This works as a free image compressor without a watermark JPG tool right out of the gate, and it also handles PNG and WebP files, so you’re not restricted to a single format.
Step 2 – Choose Your Compression Level
Once the file uploads, select how aggressively you want it compressed. A lighter setting keeps quality nearly indistinguishable from the original — ideal for portfolio images or product photos where detail matters. A stronger setting shrinks the file further, which is useful for blog thumbnails, banner images, or anywhere page speed matters more than pixel-level sharpness.
Step 3 – Download Your Compressed Image Instantly
Click Download and the compressed file is ready immediately — no waiting screen, no confirmation email, and critically, no watermark anywhere on the image.
Key Features of the Free Image Compressor
- No watermark, ever. The file you download is exactly what you uploaded, just lighter.
- No signup or email required. Open the tool and start compressing immediately.
- Multi-format support. Works as an image compressor, free for JPG, PNG, and WebP files alike.
- Privacy-first processing. Files aren’t stored on a server once processing finishes.
- Unlimited free use. No daily cap, no monthly quota, and no “upgrade to continue” interruption.
Free Image Compressor vs Paid Tools – What’s the Difference?
| Feature | SEOtoolbase Compressor | Typical Paid Tools |
| Watermark on output | None | Often added on the free tier |
| Signup required | No | Usually yes |
| Daily usage limit | Unlimited | Frequently capped |
| Supported formats | JPG, PNG, WebP | Varies by plan |
| Cost | Free | Monthly subscription |
If you’ve been hunting for an image compressor free of hidden costs, this table is really the deciding factor. Paid tools frequently gate the exact features — no watermark, no signup, no cap — that should arguably be the baseline for any compression tool in the first place.
Common Mistakes People Make When Compressing Images
Even with a good tool, a few habits can undercut the results:
- Compressing an already-compressed file. Running an image through compression multiple times introduces more quality loss each pass. Always compress from the original, uncompressed source.
- Over-compressing photos with fine detail. Product shots, portraits, and anything with gradients show artifacts faster than flat-color graphics or screenshots. Start with a lighter setting for these.
- Ignoring the format. JPG suits photographs; PNG suits graphics, logos, and images needing transparency. Compressing a PNG logo as a JPG can introduce a visible background where there shouldn’t be one.
- Uploading full-resolution images meant for print. A 4000-pixel-wide photo doesn’t need to display at that size on a blog post. Resize before compressing for the biggest file-size reduction.
- Skip compression on background or hero images. These are often the largest files on a page and the ones most likely to slow it down, yet they’re frequently the ones people forget to optimize.
How Image Compression Improves Website SEO and Speed
Page speed is a confirmed ranking factor, and images are typically the single largest contributor to a slow-loading page. Compressing them properly has several concrete downstream effects:
- Faster load times, which directly reduce bounce rate — visitors are far more likely to leave a page that takes more than a couple of seconds to load.
- Better Core Web Vitals scores, especially Largest Contentful Paint, which measures how quickly the largest visible element on a page renders — usually an image.
- Lower bandwidth usage, which matters disproportionately for mobile visitors on slower or metered connections.
- A smoother overall experience, which keeps people on the page longer and reduces the chance they abandon it mid-scroll.
If you’re already thinking about image formats for your site, pairing compression with the right file type multiplies the benefit. SEOtoolbase also offers a JPG to PNG converter and a PNG to JPG converter if you need to switch formats before or after compressing, so the whole image-optimization workflow stays in one place.
Who Actually Needs a Free Image Compressor Without Watermark?
This isn’t a niche tool — it’s genuinely useful across a wide range of situations:
- Bloggers and content writers uploading multiple images per post who need fast load times without spending on software.
- Small business owners managing their own website who don’t have a designer on staff to handle image optimization.
- E-commerce sellers listing product photos on marketplaces or their own store, where fast-loading pages directly affect conversion rates.
- Social media managers preparing graphics for platforms with file size limits.
- Students and freelancers submitting images for assignments or client work where a watermark would make the file unusable.
- Developers and agencies optimizing assets in bulk before deployment, without wanting to license paid compression software for a routine task.
Tips for Getting the Best Results
A few small habits make a noticeable difference in the final output:
- Start with the highest-quality source image available, then compress down — never compress an image that’s already been compressed once.
- Match the compression level to the image’s purpose. A hero banner deserves a lighter touch than a small sidebar thumbnail.
- Check the result at actual display size, not zoomed in at 200%. Compression artifacts that are visible up close often disappear entirely at normal viewing size.
- Batch similar images together and apply the same compression level for visual consistency across a page or gallery.
- Re-check file size after compressing, especially for very large originals — sometimes a second, lighter pass gets a better balance than one aggressive pass.
How Image Compression Actually Works (In Plain Language)
It helps to understand what’s happening behind the scenes, even without getting into technical jargon. Every image file stores color and detail information for millions of individual pixels. A lot of that stored information is redundant — neighboring pixels are often nearly identical, or contain detail the human eye can’t actually distinguish at normal viewing distance.
Compression works by identifying that redundant or imperceptible information and either simplifying it or removing it entirely. JPG compression, for example, is “lossy,” meaning it discards some of that fine detail permanently in exchange for a much smaller file. PNG compression is typically “lossless,” meaning it repackages the data more efficiently without discarding anything, which is why PNG files tend to compress less aggressively than JPGs but preserve sharp edges and transparency better.
This is also why a compression tool without a watermark matters more than it might seem. Since the compression process is already altering the file at a data level, adding a visible overlay on top is an unnecessary extra step that serves the tool provider, not the person using it.
Choosing the Right Compression Settings for Different Use Cases
Not every image needs the same treatment. A quick reference for where to land on the compression scale:
- Hero images and above-the-fold banners: Light compression. These are usually the first thing a visitor sees, so quality matters, but they also tend to be the largest files on the page, so some compression is still worth applying.
- Blog post images and inline graphics: Medium compression. These rarely need to hold up to close inspection, and readers are scrolling past them quickly.
- Thumbnails and gallery previews: Heavy compression. These display small, so detail loss is essentially invisible, and shaving file size here adds up quickly across a page with many thumbnails.
- Product photos for e-commerce: Light to medium compression. Customers often zoom in on these, so preserving detail matters, but marketplaces frequently enforce file size caps that make some compression necessary anyway.
- Logos and icons with transparency: Use PNG or WebP with lossless or near-lossless settings, since these images are simple enough that heavy compression offers little size benefit but can visibly degrade sharp edges.
Free Image Compressor Without Watermark: Desktop vs Mobile
Because SEOtoolbase’s compressor runs entirely in the browser, the experience is consistent regardless of device. On desktop, drag-and-drop makes batch work fast — useful when preparing a full set of product photos or a gallery of blog images in one sitting. On mobile, the same tool works directly from the browser without needing a dedicated app, which is convenient for compressing a photo taken on the spot before uploading it somewhere. There’s no separate mobile version to download and no reduced feature set on smaller screens — it’s the same free image compressor without watermark online, just accessed from a different device.
Frequently Asked Questions
Is this image compressor really free with no watermark?
Yes. Every image compressed through the tool comes back exactly as uploaded, minus the file size — no watermark, no branding added, and no payment required at any stage.
Can I compress images without downloading any software?
Yes. The entire process runs in your browser, so there’s nothing to install. It works the same way on desktop, tablet, or mobile.
What image formats are supported?
JPG, PNG, and WebP files are all supported, covering the vast majority of images used on websites, in marketplaces, and on social platforms.
Will compressing reduce image quality?
Light to moderate compression is nearly impossible to notice visually. Higher compression levels shrink file size further and may introduce a small, usually acceptable, reduction in fine detail — the compression level control lets you decide exactly where that balance sits.
Is there a file size limit?
No artificial cap is placed on how many images can be compressed. The tool is built for repeated, everyday use, whether that’s a single image or a full batch.
Does compressing an image affect its dimensions?
No. Compression reduces file size by optimizing how the image data is stored, not by resizing the image. Width and height stay the same unless you choose to resize separately.
Can I compress images for e-commerce or marketplace listings?
Yes. Many marketplaces enforce file size limits on product images, and compressing photos beforehand helps them meet those limits without a visible drop in listing quality.
Is it safe to compress images with sensitive or private content?
Since processing runs in the browser and files aren’t retained on a server afterward, there’s no lingering copy left behind once you close the tab. This makes it a reasonable option even for images you’d rather not upload to a service that stores files long-term.
Do I need to compress WebP images too, or are they already small enough?
WebP files are generally smaller than JPG or PNG at equivalent quality, but they can still benefit from compression, particularly for large hero images or high-resolution photos. It’s worth running them through the tool rather than assuming the format alone is enough.
Try the Free Image Compressor Now
Slow-loading images are one of the easiest problems on a website to actually fix — and one of the most commonly ignored. There’s no real reason to keep dealing with watermarks, signup walls, or paywalls just to shrink a photo down to a reasonable size. Try SEOtoolbase’s free image compressor without watermark and get faster, properly optimized images in seconds, at no cost, every single time you use it.